Skip to content Skip to sidebar Skip to footer
warning: this is not how to include the shop layout in a page, please read docs

Preview

Filtering byΚατηγορίες προϊόντωνmicrobiology Clear filters


How to install

You can now add layouts you create in the Shop Admin into any post or page. To make it simple a Shortcode Generator is included. You can access it via this button.

The first button is the shortcode generator launcher and the second one ( the one with a plus ) ads a single audio player to the page from the media gallery.

MenidiMedica

ΙΑΤΡΙΚΟΣ ΕΞΟΠΛΙΣΜΟΣ ΑΝΑΛΩΣΙΜΑ - ΜΕΝΙΔΙ, ΑΙΤΩΛΟΑΚΑΡΝΑΝΙΑ
Η έμπειρη και αφοσιωμένη ομάδα μας εστιάζει όλη της την ενέργεια για να προσφέρει αυτό που ζητούν οι πελάτες μας σε πολύ ανταγωνιστικές τιμές, διασφαλίζοντας την επιτυχία της επιχείρησής σας.

Διεύθυνση
Μενίδι Αιτωλίας & Ακαρνανίας
ΤΚ: 30016, Ελλάδα

Υποστηριξη πελατων

T +30 2681088000
Μ +30 6937115868
Μ +30 6976292146
menidimedica@gmail.com

Business Hours
From Monday through Friday
08:00 – 17:00 (EET)

ΠΛΗΡΟΦΟΡΙΕΣ
ΒΡΕΙΤΕ ΜΑΣ
MenidiMedica © 2009 – 2025. All Rights Reserved.

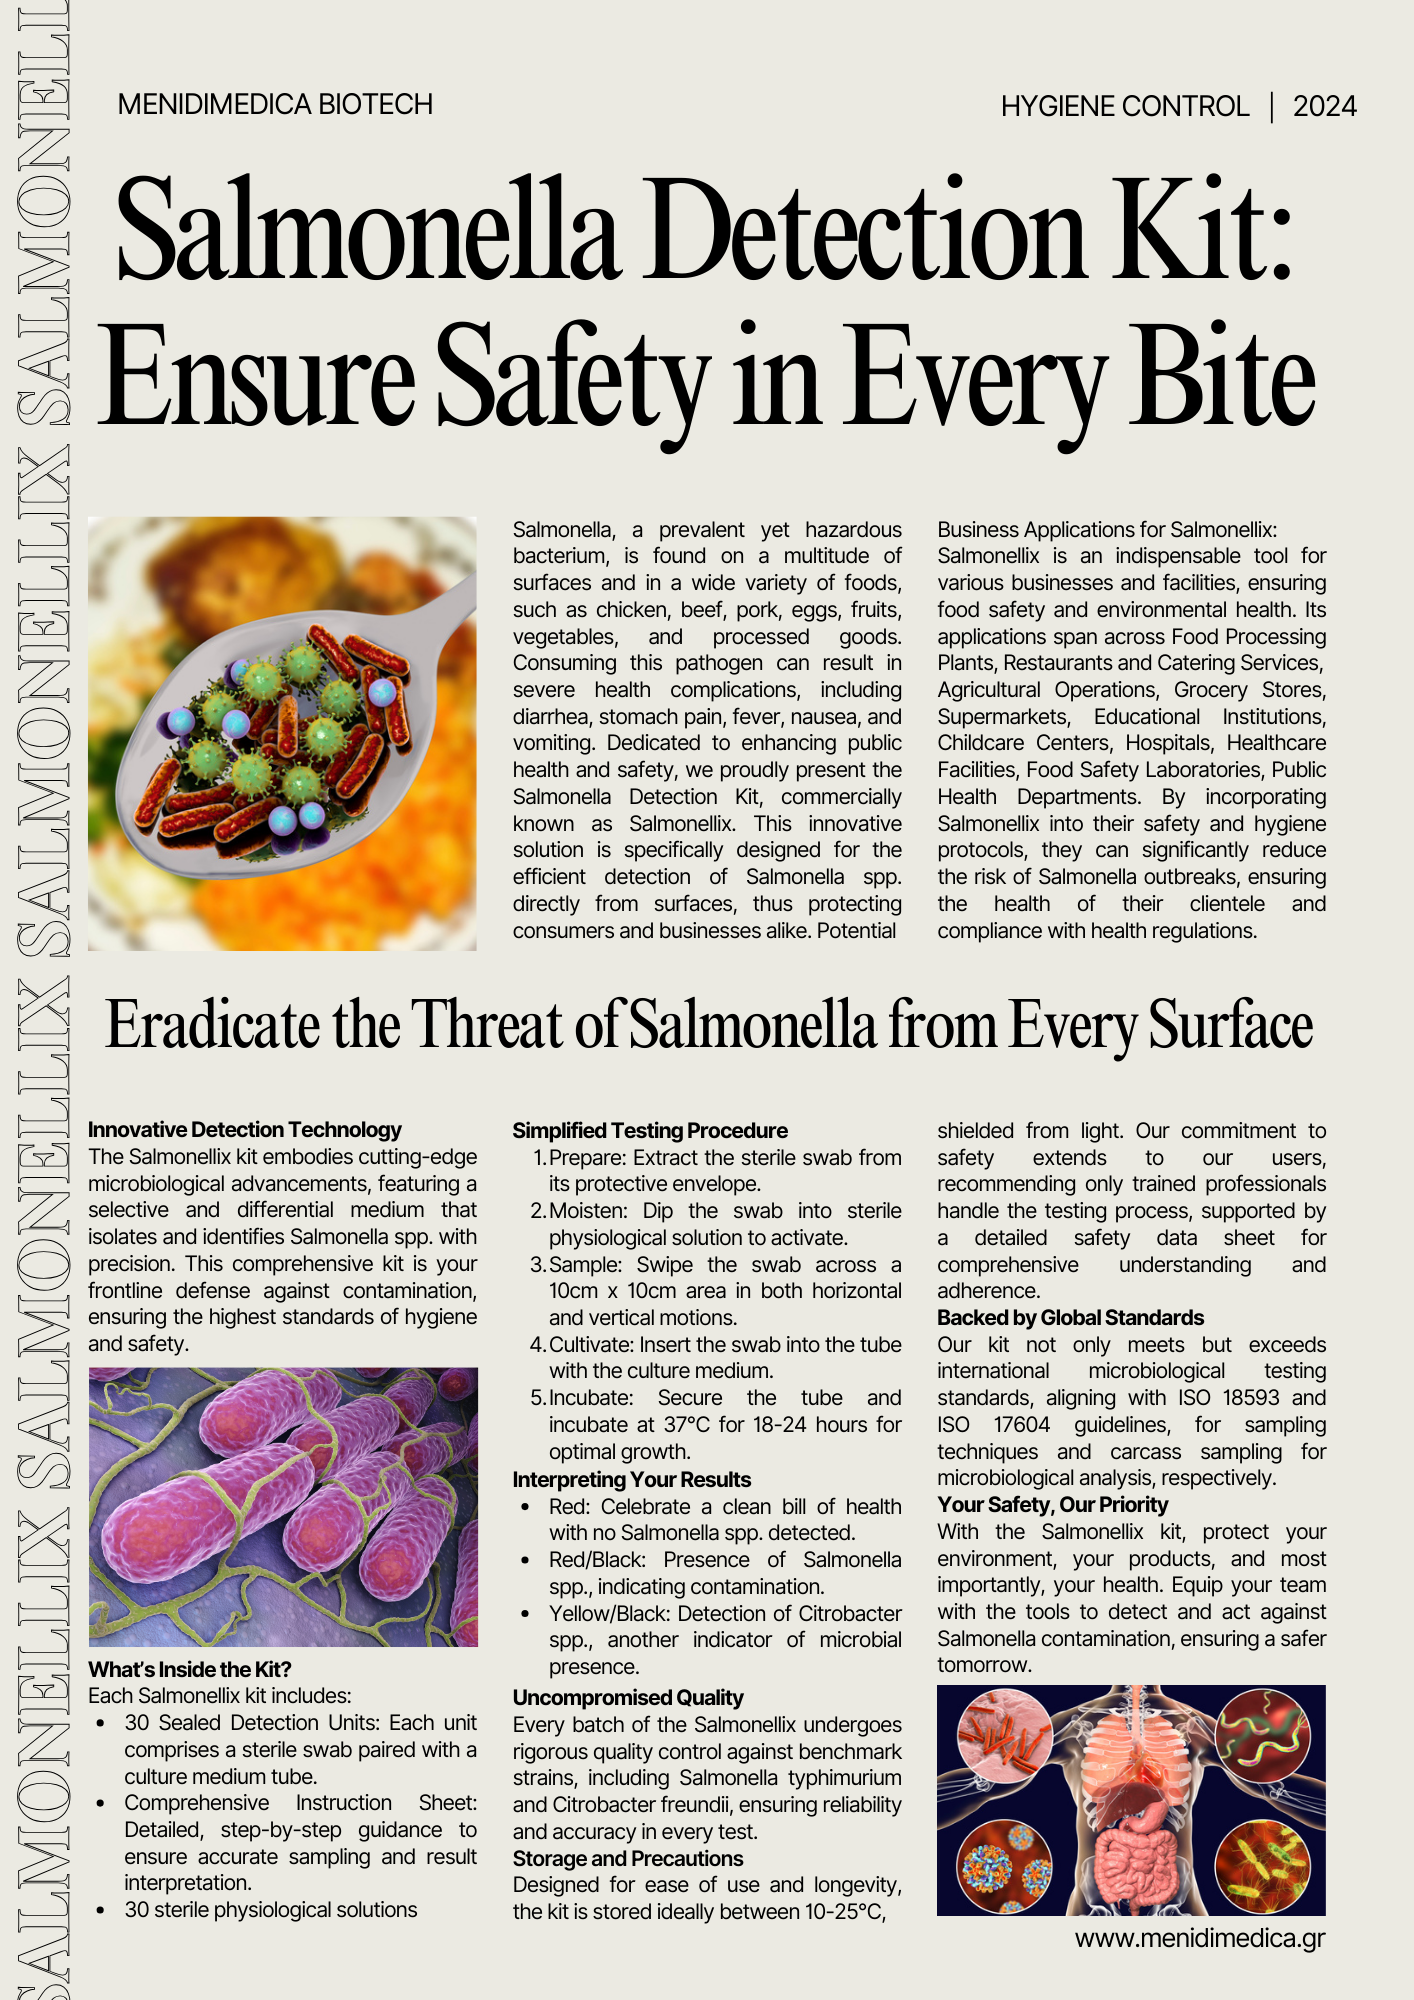
Salmonellix - Salmonella Detection Kit

Ensure Safety in Every Bite Salmonella, a prevalent yet hazardous bacterium, is found on a multitude of surfaces and in a wide variety of foods, such as chicken, beef, pork, eggs, fruits, vegetables, and processed goods. Consuming this pathogen can result in severe health complications, including diarrhea, stomach pain, fever, nausea, and vomiting. Dedicated to enhancing public health and safety, we proudly present the Salmonella Detection Kit, commercially known as Salmonellix. This innovative solution is specifically designed for the efficient detection of Salmonella spp. directly from surfaces, thus protecting consumers and businesses alike. Potential Business Applications for Salmonellix: Salmonellix is an indispensable tool for various businesses and facilities, ensuring food safety and environmental health. Its applications span across Food Processing Plants, Restaurants and Catering Services, Agricultural Operations, Grocery Stores, Supermarkets, Educational Institutions, Childcare Centers, Hospitals, Healthcare Facilities, Food Safety Laboratories, Public Health Departments. By incorporating Salmonellix into their safety and hygiene protocols, they can significantly reduce the risk of Salmonella outbreaks, ensuring the health of their clientele and compliance with health regulations. Eradicate the Threat of Salmonella from Every Surface Innovative Detection Technology The Salmonellix kit embodies cutting-edge microbiological advancements, featuring a selective and differential medium that isolates and identifies Salmonella spp. with precision. This comprehensive kit is your frontline defense against contamination, ensuring the highest standards of hygiene and safety. What’s Inside the Kit? Each Salmonellix kit includes: - 30 Sealed Detection Units: Each unit comprises a sterile swab paired with a culture medium tube. - Comprehensive Instruction Sheet: Detailed, step-by-step guidance to ensure accurate sampling and result interpretation. - 30 sterile physiological solutions Simplified Testing Procedure 1. Prepare: Extract the sterile swab from its protective envelope. 2. Moisten: Dip the swab into sterile physiological solution to activate. 3. Sample: Swipe the swab across a 10cm x 10cm area in both horizontal and vertical motions. 4. Cultivate: Insert the swab into the tube with the culture medium. 5. Incubate: Secure the tube and incubate at 37°C for 18-24 hours for optimal growth. Interpreting Your Results - Red: Celebrate a clean bill of health with no Salmonella spp. detected. - Red/Black: Presence of Salmonella spp., indicating contamination. - Yellow/Black: Detection of Citrobacter spp., another indicator of microbial presence. Uncompromised Quality Every batch of the Salmonellix undergoes rigorous quality control against benchmark strains, including Salmonella typhimurium and Citrobacterfreundii, ensuring reliability and accuracy in every test. Storage and Precautions Designed for ease of use and longevity, the kit is stored ideally between 10-25°C, shielded from light. Our commitment to safety extends to our users, recommending only trained professionals handle the testing process, supported by a detailed safety data sheet for comprehensive understanding and adherence. Backed by Global Standards Our kit not only meets but exceeds international microbiological testing standards, aligning with ISO 18593 and ISO 17604 guidelines, for sampling techniques and carcass sampling for microbiological analysis, respectively. Your Safety, Our Priority With the Salmonellix kit, protect your environment, your products, and most importantly, your health. Equip your team with the tools to detect and act against Salmonella contamination, ensuring a safer tomorrow. SALMONELLIX ENG PDF

Monocyto-ID Listeria Scan

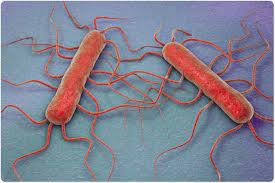
Standard method for biochemical detection and identification of Listeria monocytogenes Description Listeriosis is a serious infection, classified as a zoonosis, which results from the ingestion of food contaminated with the bacterium Listeria monocytogenes. It leads to a severe clinical picture in infants, immunocompromised individuals and poses significant risks to foetuses, while pregnant women usually have mild symptoms. Contents FX100025 - 25 vials R FX100100 - 100 vials R Note: All kit components are stable until the expiration date on the label. Protect them from light and contamination during use. Do not use the reagents after the expiration date. Store reagents at 2-8°C. Shelf life: 12 months from date of production Storage and stability: 2-8°C Samples Food, milk, dairy products, fish Note: for sample preparation, please contact the scientific support department of MenidiMedica Biotech Procedure - Incubation of the sample in suitable nutrient medium (e.g. Ottaviani Agosti Agar Base) for 24 hours at 37⁰C in an incubator - Place a vial - found on the package - with the Listeria monocytogenes biochemical detection and identification reagent in the incubator at the same time as the incubation described in step a is performed. - Remove the medium and the vial from the incubator. - Open the vial and add one drop or 50 ul of deionised water to the vial - Collect a formed colony from the nutrient medium with a swab and dip it into the vial, shaking gently until the contents of the swab are dissolved in the vial. - Incubate the vial in the incubator at 37⁰C for 6 hours - Remove the vial from the incubator and check the colour that has appeared Interpretation Green: positive sample for Listeria monocytogenes Sensitivity: 100% for Listeria monocytogenes Specificity: 100% for Listeria monocytogenes A comparison study with other methods was performed on a total number of samples n=500. Monocyto-ID Listeria Scan PDF ENG

Giemsa Solution

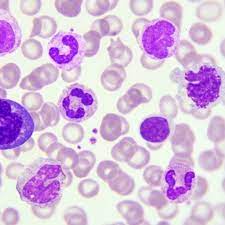
Polychromatic solution of eosin, Methylene Blue and azure dyes - Used for staining in hematology, cytology and staining sections of hematopoietic organs in histopathology Introduction Polychromatic Romanowsky dyes are a standard in hematology of blood smears and bone marrow. Various sorts of Romanowsky dyes (Giemsa, May-Gruenwald, Leishman, Wright, Jenner and others) contain different ratios of methylene bluing reagent used as the cation component (and the reagent-related thiazine dyes, such as azure B) and eosin Y as the anion component. Cation and anion components interaction creates a well known Romanowsky effect that cannot be achieved if each component is being used individually. Purple color indicates the effect's presence. Staining intensity depends on the azure B content, as well as azure B to eosin Y ratio, while a few other factors affect the result of staining: working solution pH value and buffer solution, fixation method and dye exposure time. MenidiMedica Biotech Giemsa solution is used for differentiation of nuclear and/or cytoplasmatic morphology of lymphocytes, monocytes, granulocytes (neutrophils, eosinophils, basophils), thrombocytes and erythrocytes. There are various methods of using the Giemsa solution, and the so-called Pappenheim method is one of the most commonly used ones. The method is esentially the May-Gruenwald Giemsa method combined with the May-Gruenwald solution that stains cytological material (peripheral blood smears, cytodiagnostic puncture aspirates, diarrhea or secretion cells) or hematopoietic organs' sections. Along with the Pappenheim method, the Giemsa solution is commonly used for chromosomatic aberations detection in cytogenetics. Product description Solution of eosin, methylene bluing reagent and azure dyes in methanol and glycerol with added stabilizer. Other sections and reagents that may be used in staining: - Fixatives such as MenidiMedica Biotech neutral buffered formaldehyde solutions: Formaldehyde NB 10% - Dehydrating/rehydrating agent, such as MenidiMedica Biotech alcohol solutions: Histanol 100 - Clearing agents, such as xylene or a substitute, such as agent on the aliphatic hydrocarbons basis - Infiltration and fitting agent, such as granulated paraffin - High-quality glass slides for use in histopathology and cytology - Fixatives - MenidiMedica Biotech Immersion oil - MenidiMedica Biotech Buffer solutions, pH 6.8 or 7.2 Working Giemsa solution for standard staining method Add 10mL of the Giemsa solution to 190 ml of pH 6.8 buffer solution, stir well and let it sit for 10 min. Filtrate if necessary. Working Giemsa solution for rapid method Add 33 mL of the Giemsa solution to 66 ml of pH 6.8 buffer solution, stir well and let it sit for 10 min. Filtrate if necessary. Working Giemsa solution for perioperative staining method Add 10mL of the Giemsa solution to 50 ml of pH 6.8 buffer solution, stir well and let it sit for 10 min. Filtrate if necessary. A1) Blood smear staining procedure using Giemsa solution (standard method) - Let the smear air dry - Fix previously dried blood smears by immersing them in methanol - 5 min - Immerse the fixed section into the working Giemsa solution: 15-20 minutes - Rinse the smear in the pH 6.8 buffer solution - two exchanges - 2 exchanges, 1 minute each - Air dry the slide A2) Blood smear staining procedure using Giemsa solution (rapid method) - Let the smear air dry - Fix previously dried blood smears by immersing them in methanol - 1-3 min - Immerse the fixed section into the working Giemsa solution: 3 minutes - Rinse the smear in the pH 6.8 buffer solution - two exchanges - 2 exchanges, 1 minute each - Air dry the slide A3) Blood smear staining procedure using May-Gruenwald Giemsa (Pappenheim) standard method - Let the smear air dry - Apply May-Grunwald solution to the dried smear - 3-5 minutes - Rinse the smear in pH 6.8 buffer solution. - Apply working Giemsa solution to the smear - 15-20 minutes - Rinse the smear in pH 6.8 buffer solution. Note: If necessary, apply a smaller volume of the buffer solution on the slide in order to thoroughly remove the excessive dye and to make the stained structures clearly visible. Rinse the solution after 10-30 seconds. - Air dry the slide A4) Blood smear staining procedure using May-Gruenwald Giemsa (Pappenheim) perioperative method - Let the smear air dry - Apply May-Grunwald solution to the dried smear - 1-2 minutes - Rinse the smear in pH 6.8 buffer solution. - Apply working Giemsa solution to the smear - 5 min - Rinse the smear in pH 6.8 buffer solution. Note: If necessary, apply a smaller volume of the buffer solution on the slide in order to thoroughly remove the excessive dye and to make the stained structures clearly visible. Rinse the solution after 10-30 seconds - Air dry the preparation Result (pH 6.8) Nuclei - purple to violet Lymphocyte plasma - blue Monocyte plasma - grey-blue Neutrophil granule - light violet Eosinophil granule - red Basophil granule - dark violet to black Thrombocytes - violet Erythrocytes - reddish Preparing the histological slides and solutions for the Giemsa solution staining (bone marrow biopsy, ilium biopsy) - Fixate the sample (Formaldehyde NB 10%), rinse with water and dehydrate through series of ascending alcohol solutions 70, 80, 95, 100 (Histanol 100). - Decalcify the sample by immersing it into a mild decalcifying agent (OsteoCal Mild Blue). Keep it immersed for 6 hours. - Cut the sample carefully into small slices (5-20 µm). If necessary, treat it again with a decalcifying agent (OsteoCal Mild Blue) for 20 min. - Clear the sample with intermedium; in xylene or in a xylene substitute. - Infiltrate and embed the sample in paraffin. - Cut the paraffin block to 4-6 µm slices and place them on a glass slide. B) Histological slides staining procedure using Giemsa solution - Deparaffinize the section using xylene or a xylene substitute, then rehydrate the section through series of descending alcohol solutions (Histanol 100), 95, 80, 70. - Rinse the section with distilled water - 10 seconds - Stain the section using Giemsa solution until it is optimally stained - 10-15 min Note: Use undiluted Giemsa solution instead of the working solution in this step - Differentiate the section using 0.1% acetic acid - 10 seconds - Rinse the section with distilled water - 10 seconds - Dehydrate the section through three exchanges of isopropyl alcohol - 3 exchanges, 10 seconds each - Clear the section through two exchanges of xylene or a xylene substitute - 2 exchanges, 2 minutes each Immediately after clearing apply an appropriate mount medium for covering/mounting on the section. If xylene was used, use one of mounting xylenebased media. If xylene substitute was used, use the appropriate covering agent. Cover the section with a cover glass. Results Nuclei - blue Collagen, osteoid - light blue Eosinophil granules - red Acidophilic mucopolysaccharide, mastocytes, cartilage matrix - red-purple Acidophilic substances - orange-red Note Time periods of staining processes are not entirely standardized and they approximately correspond to clinical and laboratory practical experience. Intensity of staining depends on the period of immersion in the dye. Real staining protocol depends on personal requests and priorities. Preparing the sample and diagnostics Use only appropriate instruments for collecting and preparing the samples. Process the samples with modern technology and mark them clearly. Follow the manufacturer's instructions for handling. In order to avoid mistakes, the staining procedure and diagnostics should only be conducted by authorized and qualified personnel. Use only microscope according to standards of the medical diagnostic laboratory. Safety at work and environmental protection Handle the product in accordance with safety at work and environmental protection guidelines. Used solutions and out of date solutions should be disposed of as special waste in accordance with national guidelines. Reagents used in this procedure could pose danger to human health. Tested tissue specimens are potentially infectious. Necessary safety measures for protecting human health should be taken in accordance with good laboratory practice. Act in accordance with signs and warnings notices printed on the product's label, as well as in MenidiMedica Biotech material safety data sheet. Storing, stability and expiry date Keep the Giemsa solution in a tightly closed original package at temperature between +15°C and +25°C. Do not keep in cold places, do not freeze and avoid exposing to direct sunlight. Date of manufacture and expiry date are printed on the product's label. Giemsa Solution IFU ENG PDF

Histanol 100

Rehydrating/dehydrating agent of tissue and cytological samples Introduction Histology, cytology, and related scientific fields focus on examining the microscopic structure of tissues and cells. Achieving clear visualization of tissue and cellular structures requires precise sample processing. The histological sample processing involves several key steps, with three involving dehydration and subsequent rehydration. The initial step involves preparing the samples for infiltration, embedding them in paraffin, and then cutting the paraffin blocks into thin slices. In the second step, the samples are prepared for staining, and the final step involves mounting the samples on glass slides. Since most embedding media, like commonly used paraffin, do not readily penetrate samples containing water, it is essential to perform dehydration first to facilitate the infiltration process. Once the samples are embedded in paraffin, cut into thin slices, and mounted on glass slides, they maintain their integrity for a specific period. However, before staining, it is necessary to remove the paraffin and rehydrate the sections. Only then can histological dyes be applied for staining. A similar procedure is followed for cytological samples, with dehydrating agents, primarily consisting of alcohols. One widely used dehydrating agent is denatured ethanol, which serves as the primary component in MenidiMedica Biotech Histanol. Histanol is a transparent, colorless, and flammable liquid known for its rapid action and high efficiency. Product description Other slides and reagents that may be used in staining: - Fixatives such as MenidiMedica Biotech neutral buffered formaldehyde solutions (Formaldehyde NB 10%) - Dehydrating/rehydrating agent, such as MenidiMedica Biotech alcohol solutions - Clearing agents, such as xylene or a substitute agent on the aliphatic hydrocarbons basis - Infiltration and fitting agent, such as granulated paraffin - High-quality glass slides for use in histopathology and cytology - Differentiation agent, such as MenidiMedica Biotech Acid alcohol - Bluing agents, such as MenidiMedica Biotech Scott's solution or Bluing reagent - Covering agents for microscopic sections and mounting cover glass, such as MenidiMedica Biotech Eukitt - Cover glass, dimensions range from 18x18mm to 24x60mm - Reagent for nuclear staining, such as MenidiMedica Biotech Hematoxylin Harris - Counterstaining reagents, such as MenidiMedica Biotech eosin solutions Preparing histological sections for staining - Fix the tissue sample tightly (10% NB Formaldehyde), rinse with water and dehydrate through series of ascending alcohol solutions (Histanol 100). - Clear the sample with intermedium; in xylene or in a xylene substitute. - Infiltrate and fit the sample in paraffin - Cut the paraffin block to 4-6 µm slices and place them on a glass slide Hematoxylin and eosin (HE) staining procedure, progressive - Deparaffinize the section in xylene or in a xylene substitute - 3 exchanges, 2 min each - Rehydrate using 100% alcohol (Histanol 100) - 2 exchanges, 5 and 3 min - Rehydrate using 95% alcohol - 2 min - Rehydrate in distilled water - 2 min - Stain using Hematoxylin Harris - 3-5 minutes Note: In the case of subsidence in the solution or a formation of metallic glow on the surface, reagent should be filtrated before use. - Immerse the section in distilled or demineralized water until dye is no longer being released from the section - Make nuclei turn blue using Scott's solution or Bluing reagent - 1 min Note: Finish the process of bluing after the nuclei turn blue If no Scott's solution or Bluing reagent is available, rinse the sections under tap water for 3-5 minutes. - Stain with one of eosin contrast solutions until the section is optimally stained - 15 seconds - 2 minutes Note: Staining the sections in eosin alcoholic solutions causes intensive eosinophil color to show much faster (in under 15 seconds' time). Recommended exposure time for eosin aqueous solutions is 90 seconds to 2 minutes - Rinse under tap water - 2 min - Dehydrate using 95% alcohol - 2 exchanges, 10-15 dips - Dehydrate using 100% alcohol (Histanol 100) - 3 exchanges, 10-15 dips - Clear the section in xylene or in a xylene substitute Immediately after clearing apply an appropriate mount medium for covering/mounting on the section. If xylene was used, use one of mounting xylene-based media. If xylene substitute was used, use the appropriate covering agent for this case. Cover the section with a cover glass. Result Nucleus - dark blue Cytoplasm, collagen, elastin, erythrocytes - various shades of pink (when staining with Eosin Contrast the shade is red-pink) Note Time periods of staining processes are not entirely standardized and they approximately correspond to clinical and laboratory practical experience. Intensity of staining depends on the period of immersion in the dye. Real staining protocol depends on personal requests and priorities. Preparing the sample and diagnostics Use only appropriate instruments for collecting and preparing the samples. Process the samples with modern technology and mark them clearly. Follow the manufacturer's instructions for handling. In order to avoid mistakes, the staining procedure and diagnostics should only be conducted by authorized and qualified personnel. Use only microscope according to standards of the medical diagnostic laboratory. Safety at work and environmental protection Handle the product in accordance with safety at work and environmental protection guidelines. Used solutions and out of date solutions should be disposed of as special waste in accordance with national guidelines. Chemicals used in this procedure could pose danger to human health. Tested tissue specimens are potentially infectious. Necessary safety measures for protecting human health should be taken in accordance with good laboratory practice. Act in accordance with signs and warnings notices printed on the product's label, as well as in MenidiMedica Biotech material safety data sheet. Storing, stability and expiry date Keep Histanol in a tightly closed original package at temperature between +15°C and +25°C. Keep in dry places, do not freeze and avoid exposing to direct sunlight. Date of manufacture and expiry date are Histanol 100 IFU ENG PDFprinted on the product's label.
el